Here it is, finally! The plaid cape! I would have done this so much sooner (I had planned to do it a day or two after the 'sneak peak'), but I got sick. Very very sick. Think like, cold from hell. I couldn't think my head was so stuffed up; I couldn't breath my nose was so stuffed up; I couldn't speak my throat was so soar; I couldn't move my body was so achy. It was miserable. But, now it is mostly gone. It is determined to stick in there though, so I'm taking the day off today too. Hopefully I can take it easy enough today that my body kills the remnants of this evil bug, while also getting my chores done that I have been to sickly to manage. I have a bucket load of laundry that desperately needs doing and a room that looks like a tornado blew threw it ....
But enough of all that! Let's pretend I'm awesomely healthy and maybe positive thinking will help. They say it does. So, my awesomely healthy me is super proud of her cape. I fell in love with this plaid fabric when I saw it in Fabricville two months ago or so. I even paid almost full price. Well, 50% off, but it was still a whopping 12$ a meter! Needless to say I only got 2 meters .... But I just loved it so much I couldn't resist (I'm glad I didn't resist as it sold out at full price and never made it to the discount section). So many plaids are harsh and they're ok, there's nothing wrong with them. But THIS plaid is soft. It's a gradient plaid almost, I don't know how else to describe it. Plus it's 100% cotton and so soft and warm. Perfect for a spring/summer/fall coat, cause you know it's never warm enough here ... especially at night. It gets chilly, even in mid summer, and I always have to have a sweater. Well, no more! I now have this totally awesome cape instead!
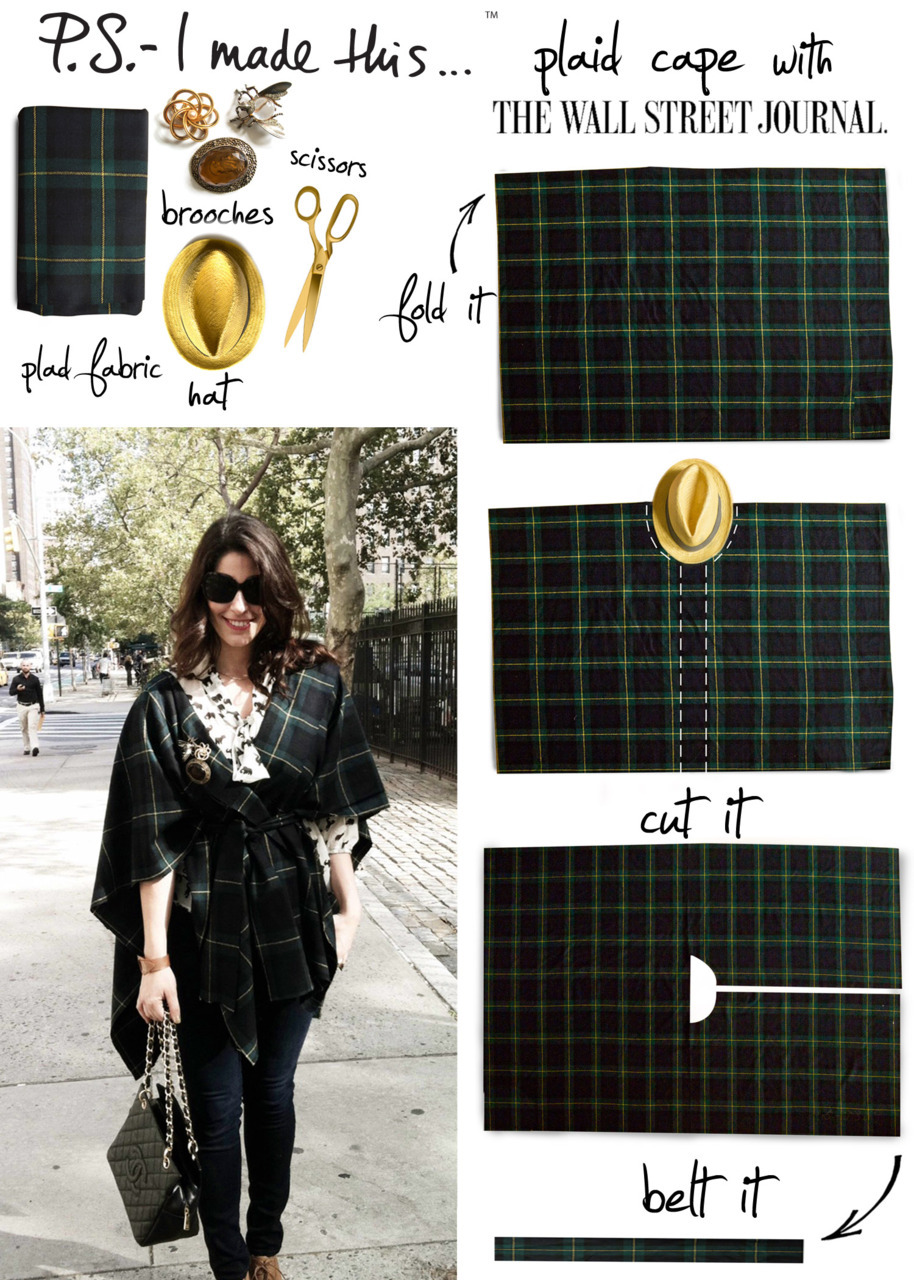
I found this blog called PS. I Made This. It has loads and loads and loads of easy tutorials. I spent ages going through them all and saving my favourites. One of which was for a plaid cape!

So I altered it. The first thing I did was zig zag along ALL the edges, because this fabric, as gorgeous as it is, frays like crazy. Crazy frayage. No one wants to spend time sewing something up only to have it fray into nothing on them.
Next step, sew the sides closed. I wanted this for colder summer nights and it is meant to keep me a little warm, I didn't think having wind blow in the sides would help with that much. Sewing them closed was a super easy fix to that. I left a whopping 15" arm hole so I could keep that cape look and feel. I totally didn't think to take a picture where you can see the side seams, but I totally lucked out. I didn't know I would be sewing them shut when I cut it out, so I didn't line up the plaid at all. It doesn't line up perfectly, with black to black, but it does line up perfectly NOT perfect. If that makes sense. The white lines up perfectly with the black, and the black with the white. It alternates!
Step three, hem the arm holes. I just folded it over once and sewed it down. It looks like this from the right side.
Looks like a normal hem, but I didn't fold it over twice like normal, because again, didn't know I would be doing this, so didn't cut accordingly.
This is the view from the inside of the cape. Not spectacular, but at least the zig zagging gives it a somewhat finished look instead of just fraying fabric.
I really liked the length of the sleeve, it hits just above my elbow. Any shorter and it would look mis-fit, almost too small. So I'll have to content myself with folding just the once. If I were to do it again, I'd add extra width for room to do a proper hem. Or just get wider fabric.
The wobbly line of stitching is the first one, the small hem, so you can't see it from the right side of the cape. The zig zagging wasn't straight I guess so it threw it off when I tried to do the first small hem. The larger folded hem though went smoothly. I like how on the right side of the cape, the stitch line is so high up. I don't know why, it just looks cool.
Step 5, fix the front. I'm not sure how else to word it. The front part, where the neck circle meets the strip that's cut out, hangs awkwardly on me. I played around with it a bit, and found that my favourite look was when it was folded open.
I didn't want it to be folded over the whole way down, I wanted it to taper away near my waist. So I made some folds at my waist, pinned them in place, and sewed those down too.
I can't explain it so well, but you can see it clearly in the picture. It's like a lapel. It's wider at the top and tapers away near the middle. Except it's not cut that way, it's folded that way instead and the folds are sewn in place. I really like them. I like how they travel up to the top almost too. They give dimension, which is really cool.
Both of these above two pictures also show step 6, bias tape! I found that when I sewed the lapels down, they kind of faded. They didn't have that shadow under them anymore because they were flush with the rest of the cape, and they kind of disappeared. I wanted them to pop, so I sewed black bias tape along the edge. It goes along the neckline and down the front, although because the lapel folds under and tapers off, the bias tape disappears onto the wrong side.
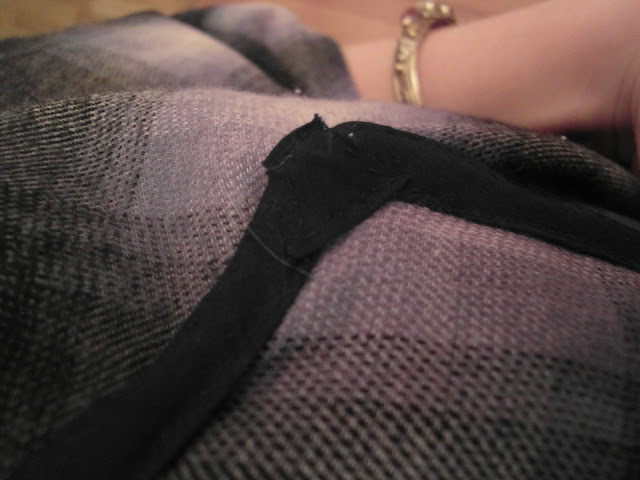
I used black, because well, what other colour could I use? I want to be able to wear this with everything, and bright green bias tape would not only prevent that, but just look weird. I had a hard time with adding the bias tape to the corners of the neck piece. I cut them off and tried to fold them into that corner thing that looks awesome, but failed. They didn't close properly, so I ended up hand sewing a tiny piece of extra bias tape to them to hide the mistake.
I had to stitch it by hand because there were so many layers! The double folded fabric, the zig zagging, two layers of bias tape ... multiplied all by two at the corners ... my sewing machine refused. It would not sew it. So I ended up doing it by hand, which is why the stitches are a little ... off. My hand stitching skills are not good. I can never seem to make them even. They always look wonky.
I also had to hand stitch the bias tape along the bottom, near the hem too. For the same reason. Way to many folds of fabric.
If I had planned to do all this extra stuff, I'm sure there would have been a way to avoid the millions of layers of stuff that scared the sewing machine away. But I kind of went with the flow, adding things as I saw fit.
It turned out really well though I think. It's super cute! I wear it with my oversized infinity scarf and a skinny belt with a lace pattern on it. My boyfriend says it looks very Euro chic. Not quite the Nova Scotia style, but it's my style so that's even better. :D
Rupert likes it too.


No comments:
Post a Comment